In order to integrate your Xero instance with Xobuya, an administrator is required to log in to Xobuya.
- Click on the Gear icon in the lower right of the Xobuya window.
- Click the Company button from the Admin menu.
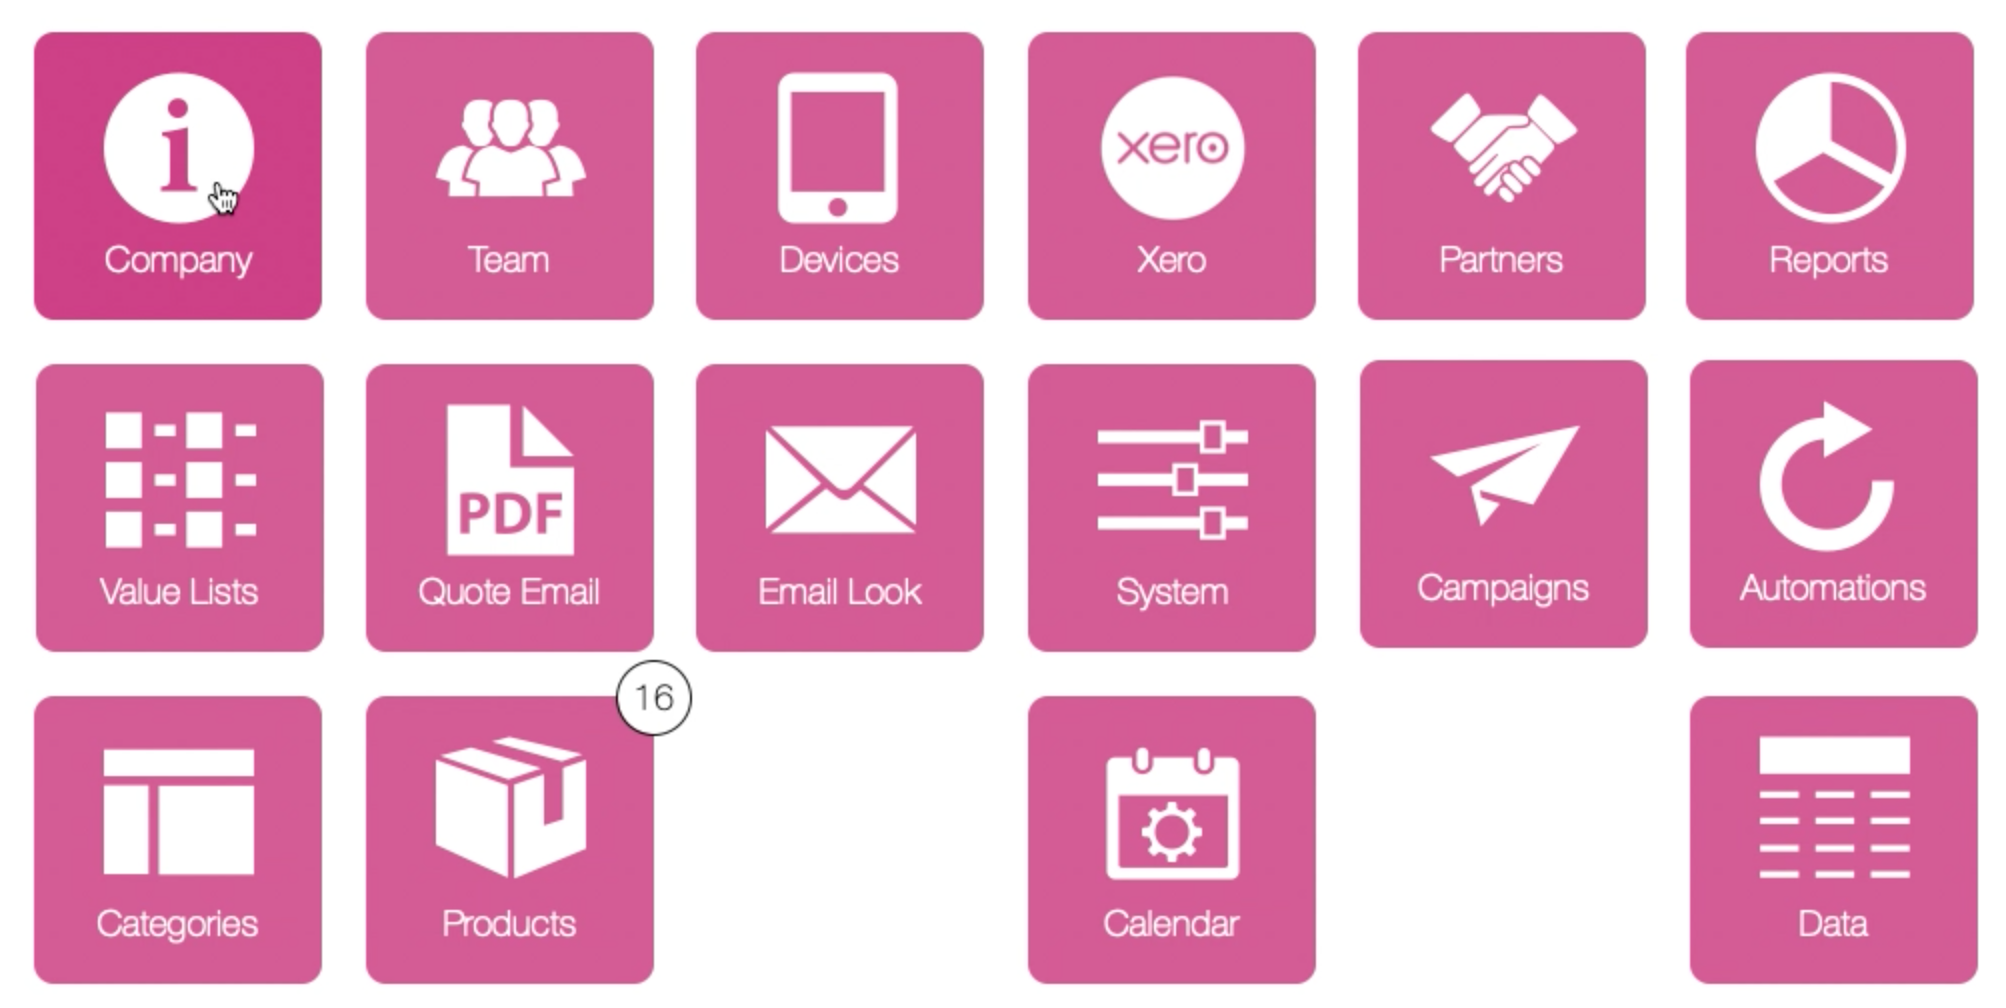
- Then select Xero from the Accounting drop-down menu.

- Go back to the Admin menu page and click the Xero button, which should now be available.

You should now see the Configurable Items for Xero.
- In your web browser (Safari, Chrome, etc), log in to your Xero account.
- Create a new tab in the browser and type the URL developer.xero.com
This should automatically log you in to the developer site. - Click on the My Apps tab.

- Click on the New App button.

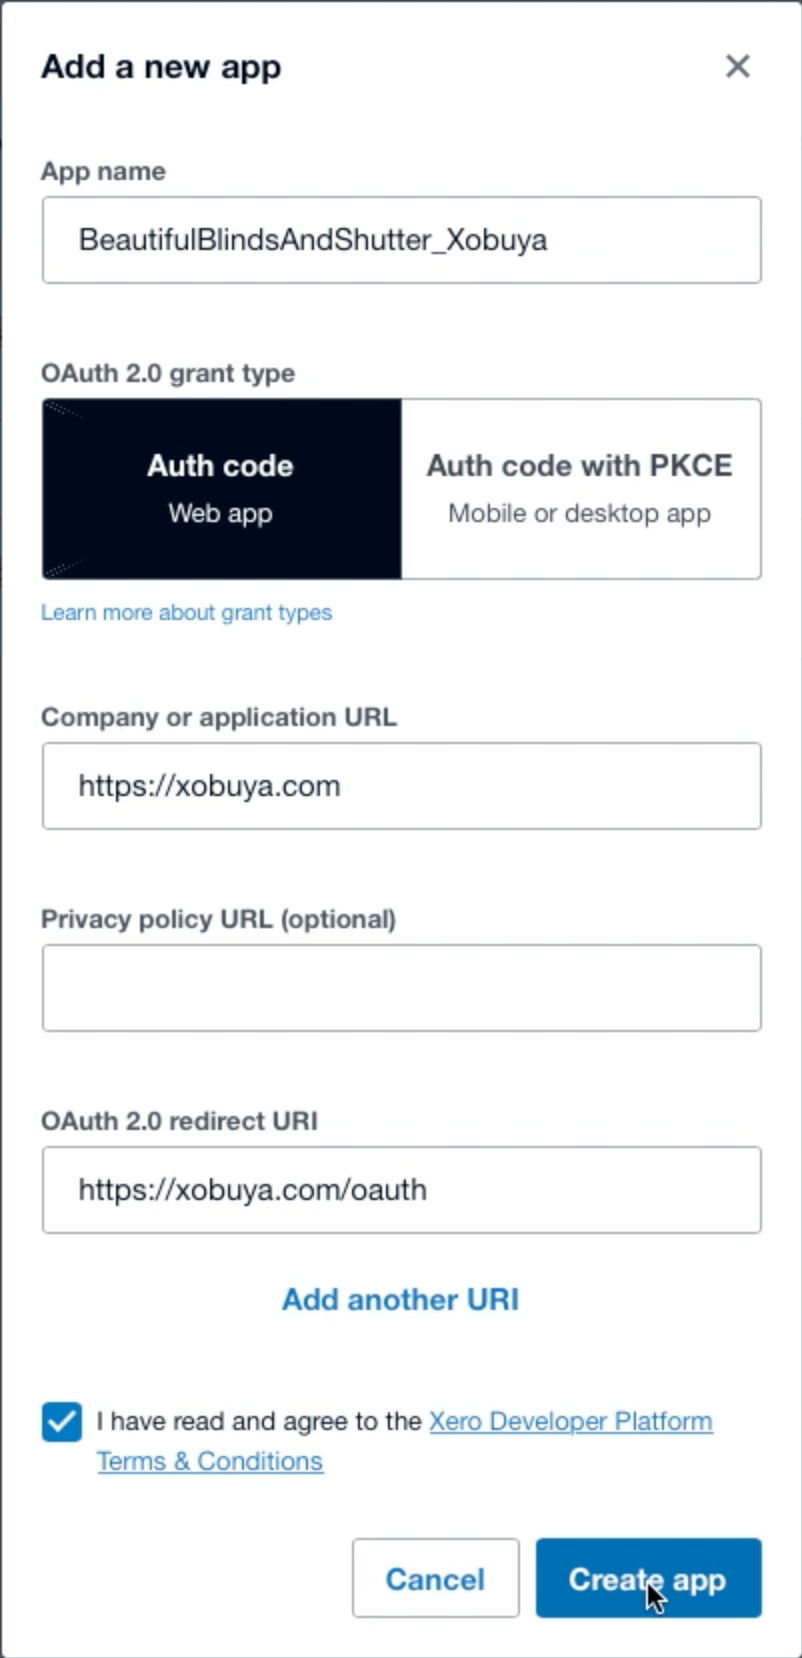
- Complete the details as follows to and click the Create App button to complete the Xero app creation:
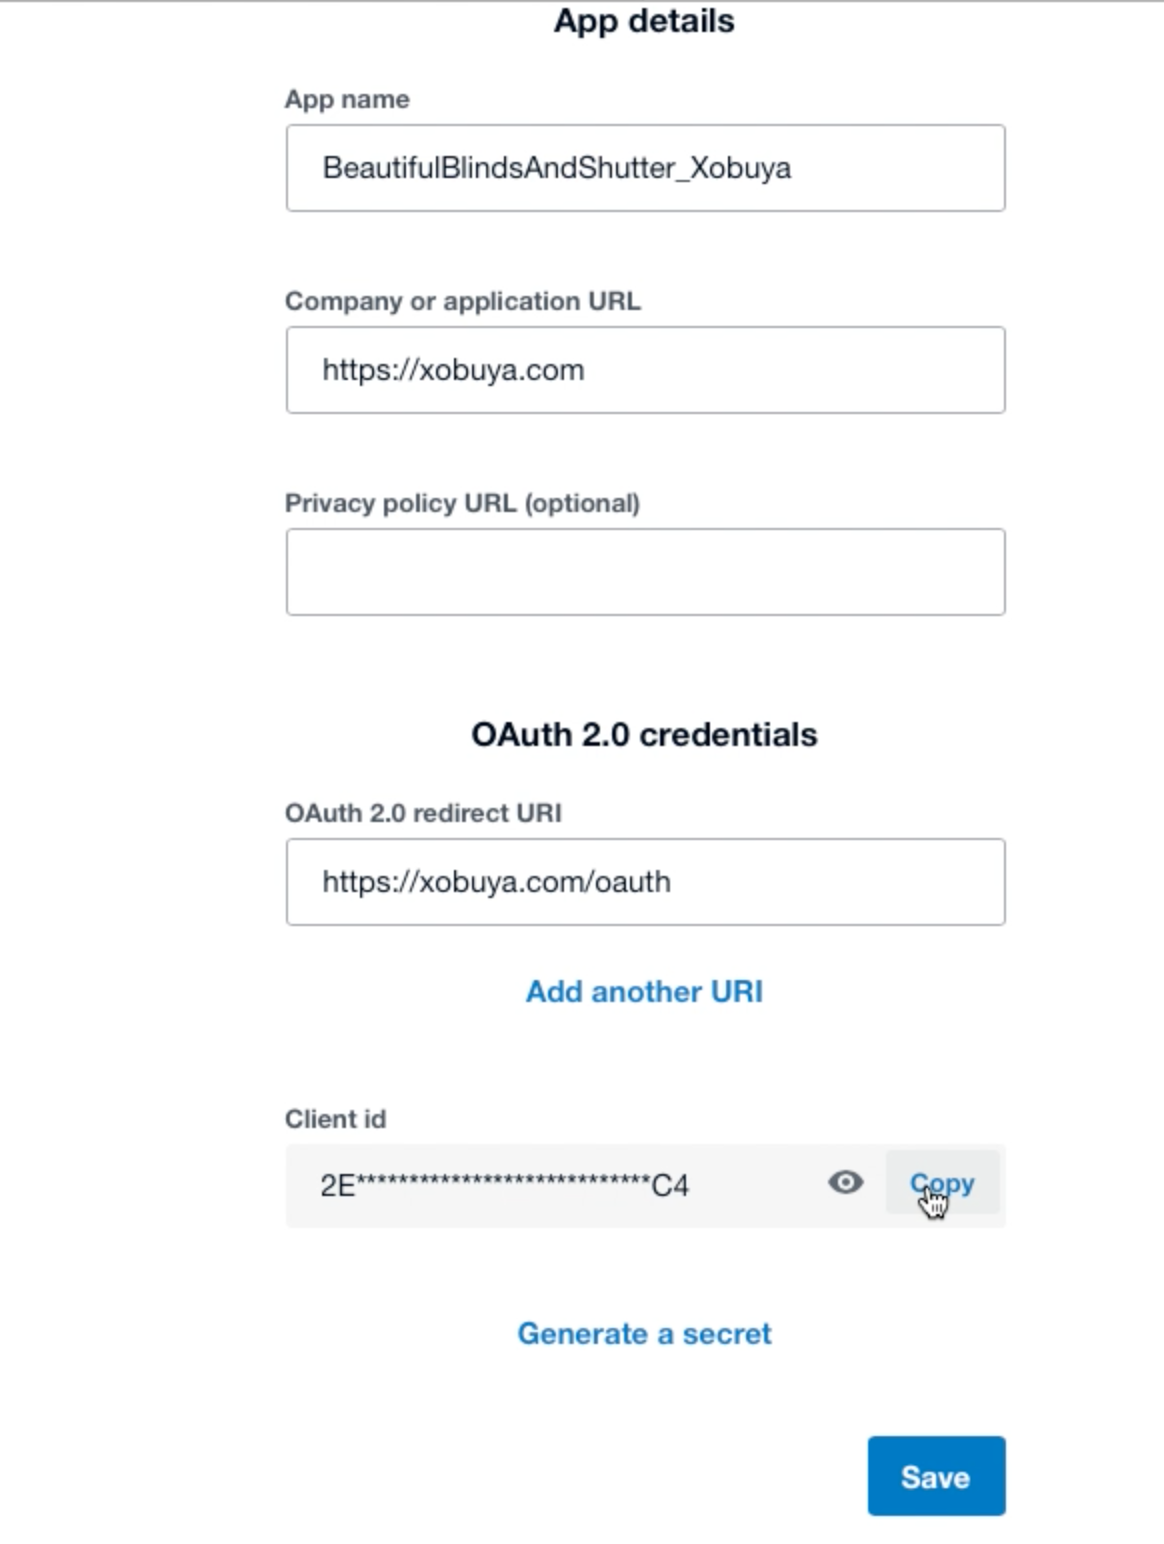
- Once the Xero App has been created, copy the Client ID from Xero.
- Paste the Client ID into Xobuya at the top left of the screen.
TIP: perform an undo command (Windows: CTRL-Z, Mac: Command-Z) directly after pasting the text to remove any unnecessary formatting which may be attached to the copied text.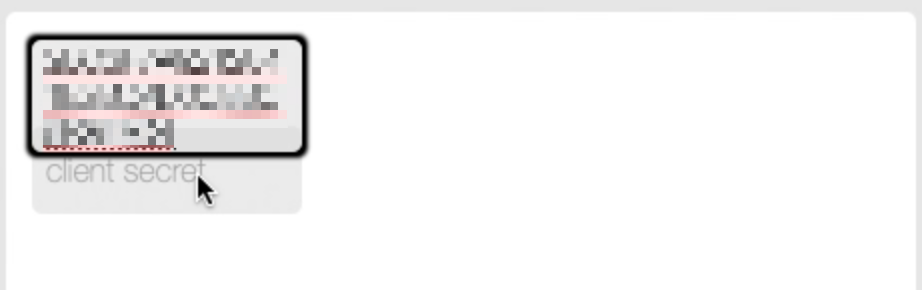
- In Xero, Create a Secret, and then copy the secret and paste into Xobuya in the field labeled Client Secret (below the Client ID) and click the Authenticate button.
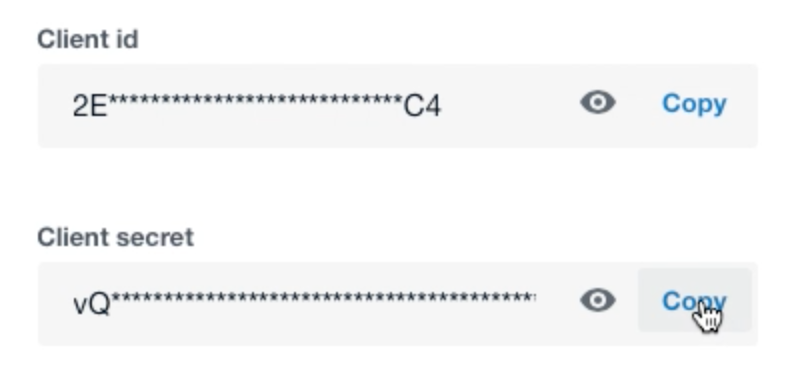
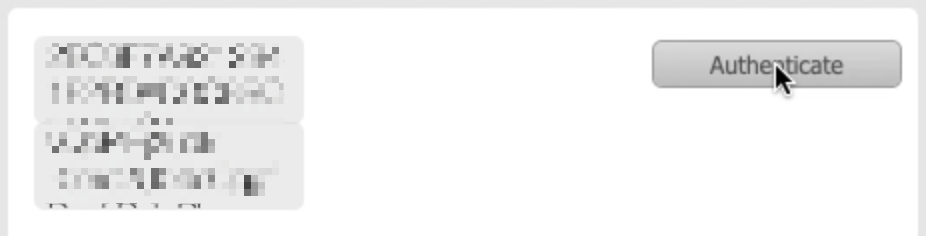
- This will now present you with a log in to Xero from within Xobuya. Enter your Xero log in credentials (if you have 2 factor authentication activated, you will also be prompted for a 2FA code as per existing Xero login protocols).

- Xero will now ask for access to your organisation. Select your organisation from the drop-down menu and click Allow access.
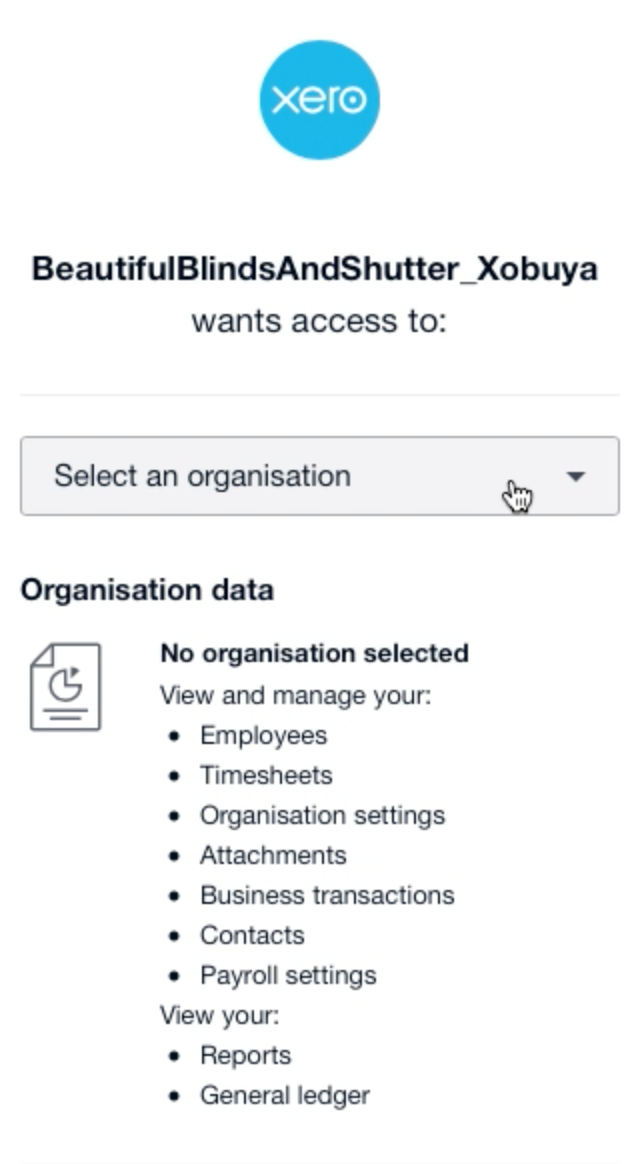
- Xero will now load an Authentication screen. Once this screen has loaded, click the Continue button in the bottom right-hand corner of the screen.
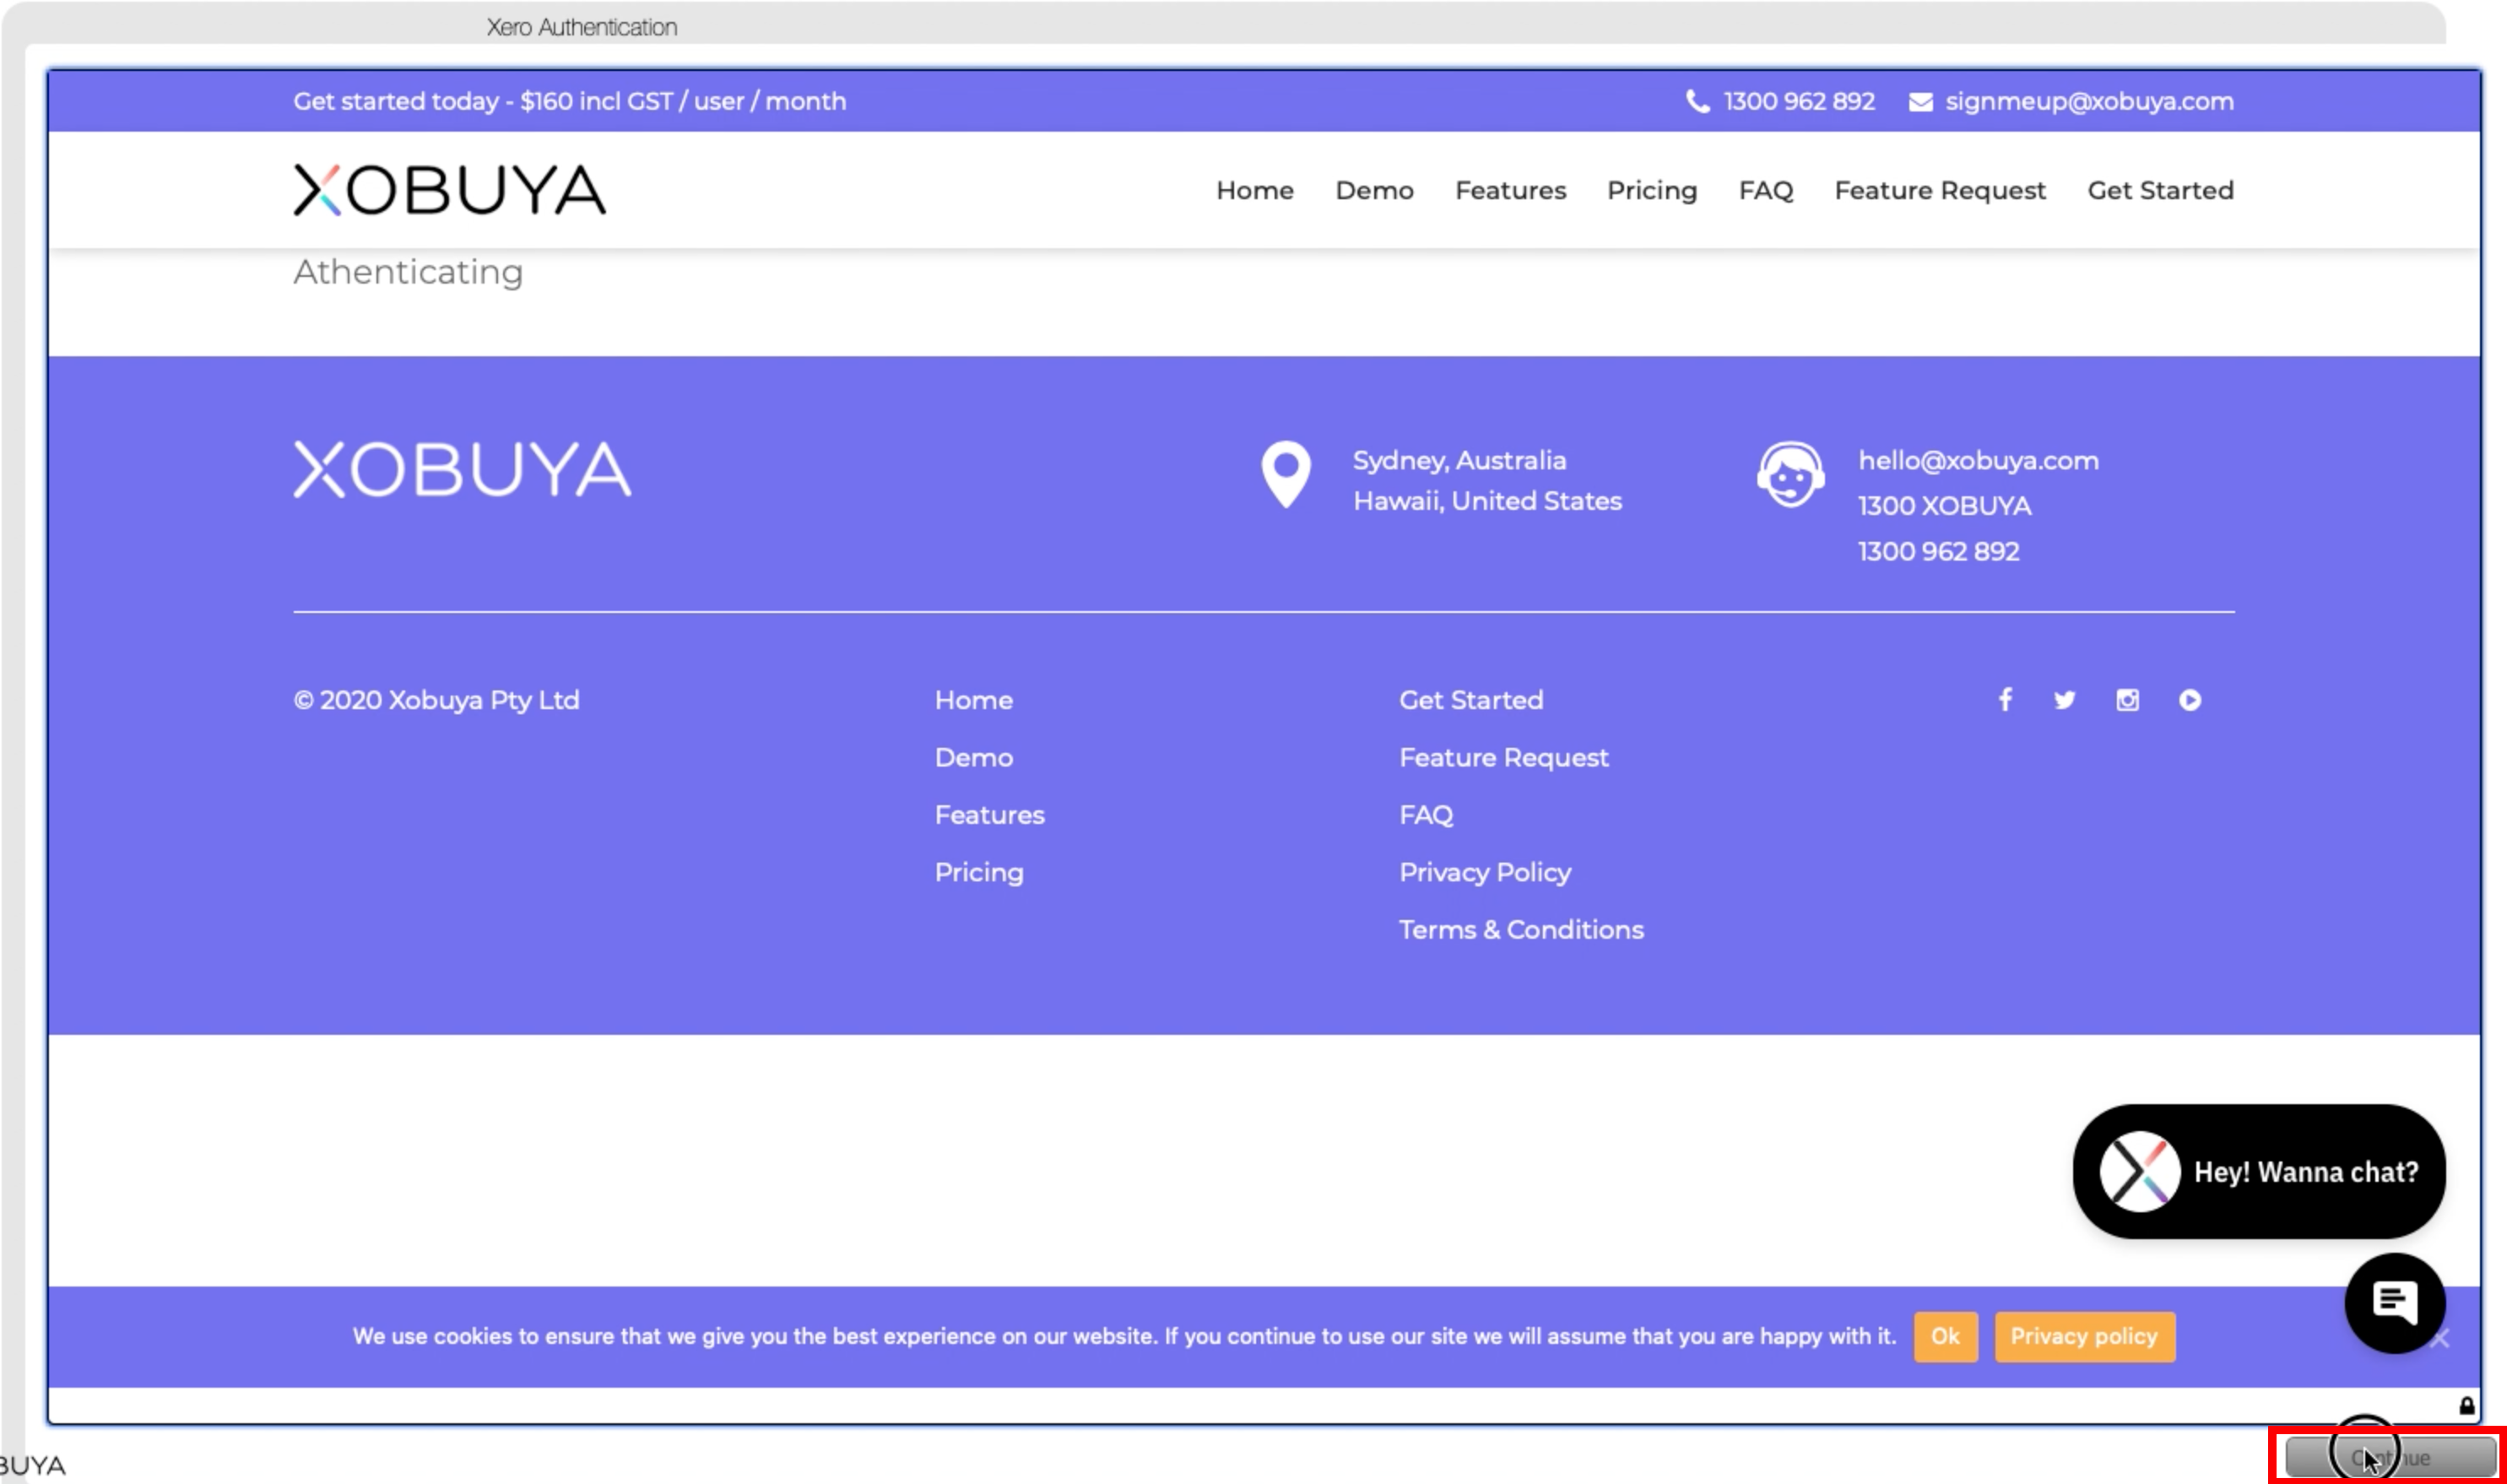
- You should now see the following dialog:
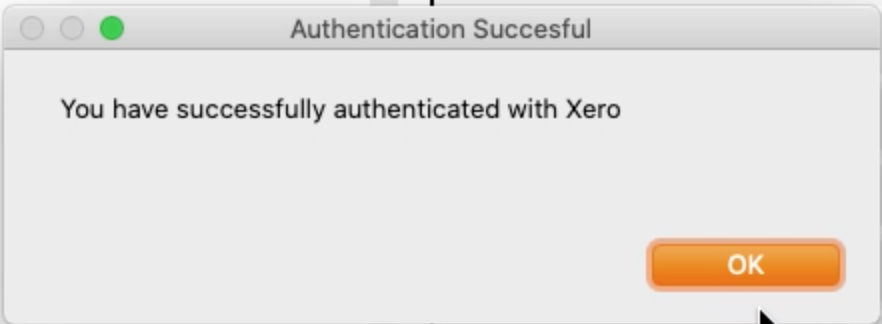
Click OK.
Xero has now been authenticated to Xobuya.